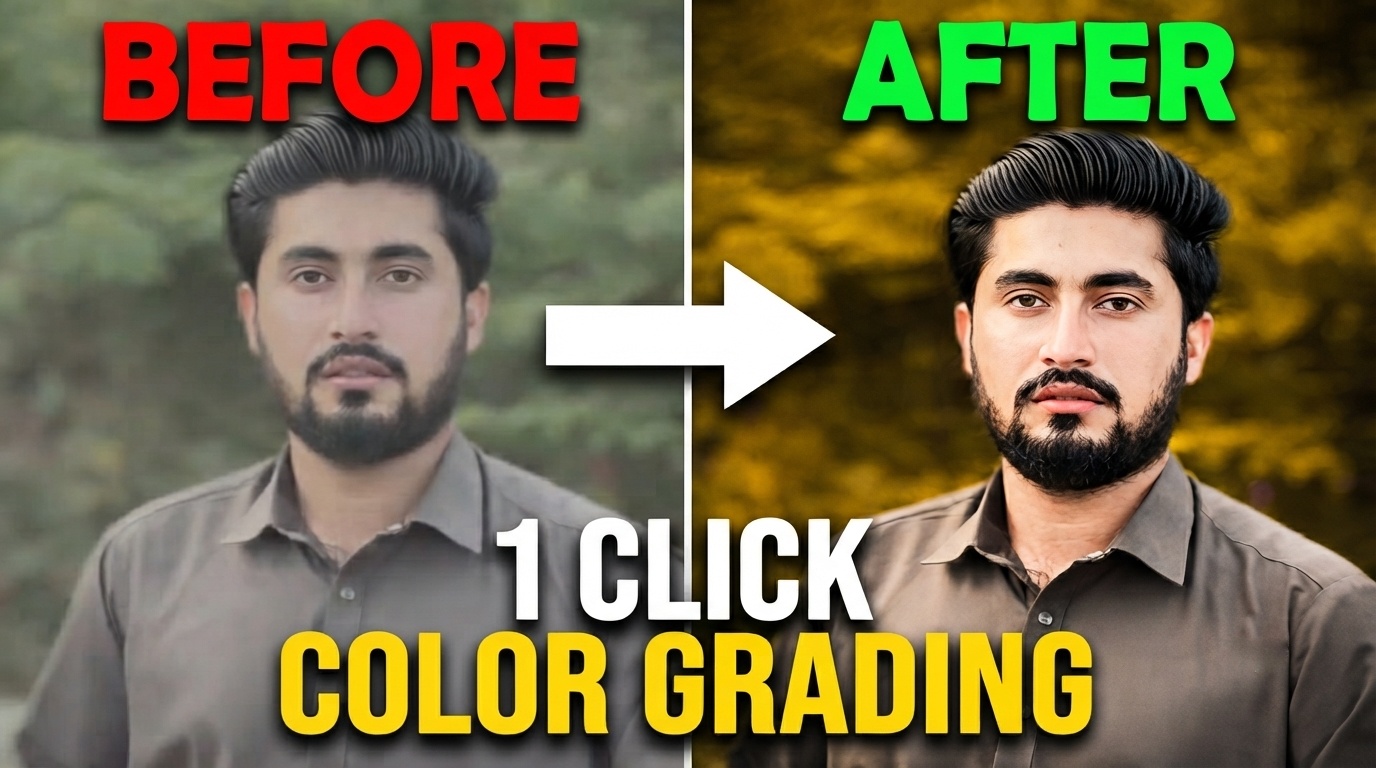
Learn 1 Click Video Color Grading Trick to turn boring footage into cinematic videos. LUTs, CapCut & DaVinci tutorial on Vn Editiing.
Video Color Grading It Matters
Video Color Grading is the process of changing and enhancing the color of your video footage to give it a specific mood, style, or cinematic look. In simple words, color grading is what makes a normal mobile clip look like a Netflix movie or a YouTube short look like a professional ad. In 2026, with billions of videos uploaded daily on YouTube, Instagram Reels and TikTok, standing out is very hard. Viewers decide in the first 2 seconds whether to watch or scroll. And the biggest factor that catches their eye is color.
Dull, flat, and gray footage gets ignored. But footage with rich contrast, cinematic tones, and balanced skin colors gets clicks and watch time. The good news is you don’t need a 500 dollar software or a professional colorist anymore. With the 1 click video color grading trick that we will discuss in this article, you can turn your boring footage into cinematic videos in less than 60 seconds. This trick works on mobile apps like CapCut and VN Video Editor, and also on PC software like DaVinci Resolve. And the best part is it is 100 percent free and safe for monetization.
Boring Footage Fixes It
Most beginners shoot videos with their phone and directly upload them. The result is always the same. The colors look washed out. The shadows are too dark. The highlights are blown. The skin looks orange or green. This happens because phone cameras and even DSLR cameras shoot in a flat profile to capture maximum detail. But flat footage looks boring to the human eye. This is where color grading comes in. Think of raw footage like raw food. You cannot eat it directly.

To begin with, think of raw footage like raw food. You can’t serve it like that. In fact, you need to cook it with spices.Similarly, color grading is the cooking process for your video. Basically, it adds contrast to make things pop. Moreover, it improves saturation, adds warmth, and sets the overall mood.The best part is, with just one click you can completely change the vibe. For example, you can get a cinematic teal and orange look. Additionally, you can use a warm film look. Or else, you can go for a cold moody style.Now the question is, how does this work? The answer is LUTs.
They Are Safe For Creators
LUTs are pre-made color presets created by professional colorists. They are just small .cube files that you apply on your footage. There is nothing illegal, nothing cracked, nothing modded in using LUTs. Big YouTubers, filmmakers, and ad agencies use the same LUTs. You can download thousands of LUTs from our website editzpk.com. We provide only royalty LUTs that are safe for YouTube monetization and AdSense. Many beginners make 3 big mistakes. Mistake number one, they apply LUT at 100 percent. This makes the Video Color Grading look oversaturated and fake.
Here’s where the 1 click trick actually starts working. After downloading, just unzip the file and take the .cube LUT into your editor. The process is simple. Open CapCut, VN, or DaVinci Resolve, import the LUT, drop it on your clip, and then play with the strength slider. That one move instantly changes the mood of your whole video. But wait, there’s one last step that most creators skip. After you apply the LUT, always check the face in your clip. If the skin looks too orange, too red, or too green, go to HSL or color wheels and fix it. A natural skin tone is what separates amateur edits from pro cinematic edits.

1 Click Video Color Grading Trick
Let’s be real, CapCut is ruling mobile editing in 2026. It’s free, it’s fast, and it has everything we need for pro color grading without paying a single rupee. Now here’s the secret most people miss. As soon as you apply the LUT, tap on it again and bring the strength down. Keeping it at 100% makes it look overdone. 65% to 75% usually gives the best cinematic feel while keeping skin tones natural. Once that’s done, head back to Adjust for a quick polish. Add a little contrast, bring the highlights down a bit, and throw in some sharpening. A soft vignette at the end pulls focus to the center.
If you edit on PC then DaVinci Resolve Free version is the best software in the world for Video Color Grading. And yes, the free version is enough. Step one, import your footage into the Media page. Step two, go to the Color page. Step three, right click in the node area and choose Add Node. Step four, with the node selected, go to the LUT section on the right and click on Open LUT and import your free LUT from editzpk.com. Step five, apply the LUT and then use the color wheels to balance skin tones. Step six, add a slight film grain and export.
App Link Download
VN Video Editor Mobile Tutorial
Another great and safe app is VN Video Editor. The good thing is, it does not add any watermark to your videos. Moreover, the process is almost the same as CapCut. Let me break it down for you step by step. To start with, open VN and add your clip to the timeline. After that, tap on the clip and go to the Filter option. Next, tap on the plus icon and choose Import Filter. Then, select the LUT file from your download folder.Once you do that, apply the LUT to your clip. Following this, adjust the strength slider so it doesn’t look too strong.In addition to this, go to Curve and make a small S curve.
Just applying a LUT is not enough. To make your video look truly professional, follow these 3 pro tips. Tip number one, shoot in good lighting. No LUT can save bad lighting. Shoot during golden hour or use soft light. Tip number two, do not overdo the LUT. Always reduce the intensity to 60 to 80 percent. This keeps the skin tones natural. Tip number three, match your shots. If you have 10 clips in one video, apply the same LUT to all of them so the color feels consistent. Also remember to white balance your camera before shooting. These small things plus our 1 click trick will make your videos look like they were edited.
Dull And How Grading Saves It
Be honest. Have you ever shot a video on your phone, felt excited, and then after uploading it looked flat and lifeless? That happens to almost every beginner. The reason is simple. Cameras shoot in a flat profile on purpose. They capture all the detail, but the colors look washed out straight out of camera. If you post it like that, people will scroll past in 2 seconds. This is exactly where color grading comes in. Think of it like editing a photo, but for video. You add contrast so shadows feel deeper.
To begin with, light matters more than any preset. In fact, if you shoot in bad light, no LUT can save it. Because of this, always try to shoot near a window or during golden hour. As a result, good light + LUT = pure magic. Next up, never leave the LUT at 100%. To be honest, I know it’s tempting, but it always ends up looking fake. Therefore, bring it down to 65%-75%. In this way, the colors stay strong but still look natural and real.


