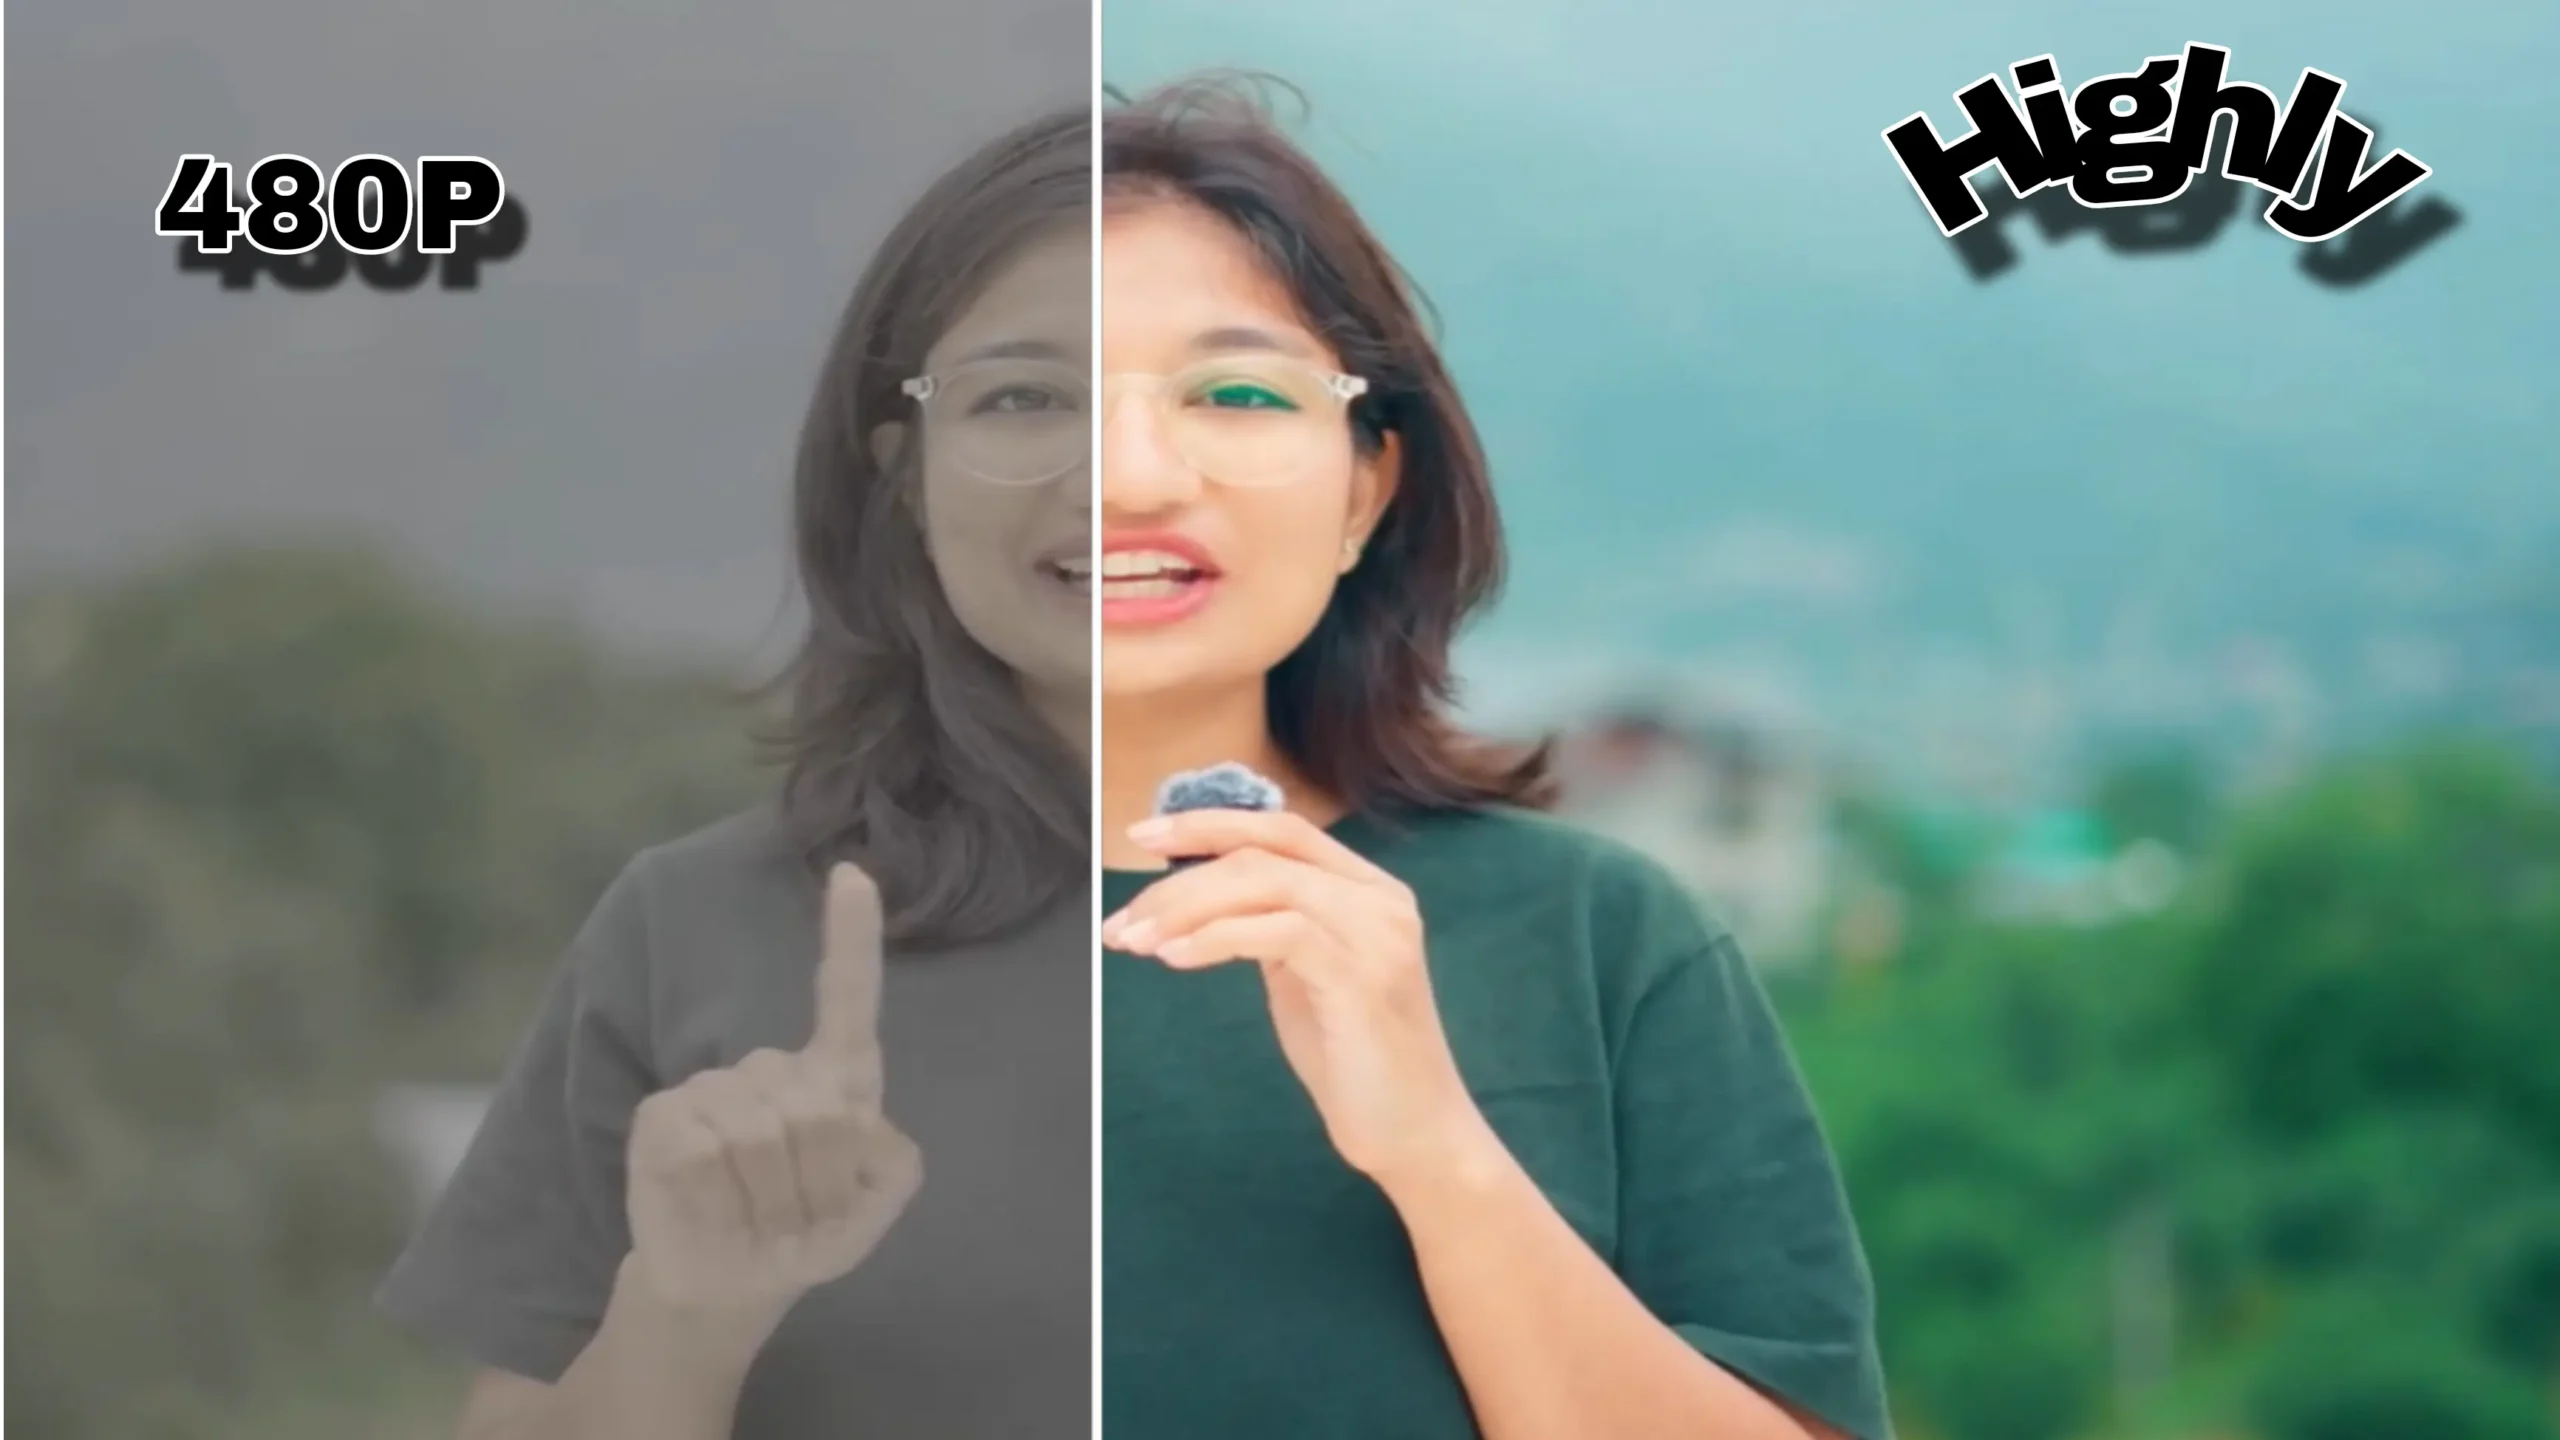
See the real difference between 480P and High Quality video. Learn what makes video look clear and how to improve your camera settings.
Introduction to Video Quality
Video quality is the first thing people notice when they watch content online. Whether it’s YouTube, Instagram, or your own website, the clarity of your video decides if viewers will stay or scroll away. In this article we will compare 480P video with High Quality video and see the real difference. We will also cover why some videos look dull and blurry while others look sharp and professional. By the end you will understand what makes a video clear and how you can improve your own camera settings without buying expensive gear. This guide is made for beginners and creators who want better results.
480P is considered standard definition in today’s world. It has a resolution of 854×480 pixels. This means the video has fewer pixels compared. Because of fewer pixels, details like faces, text, and backgrounds look soft and sometimes blurry. 480P was common 10 years ago when internet speed was slow. Even today many phones and cameras shoot in 480P to save storage and data. The biggest problem with 480P is that on large screens like laptops and TVs it looks stretched and unclear. For social media it may work, but for professional content it is not enough anymore.
Side by Side Visual Comparison
If you place 480P and High Quality video side by side, the difference is clear in the first 3 seconds. In 480P, text looks pix-elated, skin tones look flat, and background details disappear. In High Quality, you can see facial expressions, fabric texture, and even small objects in the background. Colors also look richer in High Quality because modern sensors capture more data. Another big difference is sharpness. 480P feels soft like an old TV, while High Quality feels crisp like what you see with your eyes. This is why viewers instantly prefer High Quality content.

High Quality video usually means 720P, Full 1080P, or even 4K. These formats have much more pixels than 480P. For example 1080P has 1920×1080 pixels which is almost 5 times more than 480P. More pixels mean more detail, sharper edges, and better color. High Quality video looks clean on every device, from mobile to big TV screens. It also gives you room to crop and edit without losing clarity. Brands, YouTubers, and businesses now prefer High Quality because viewers expect it. A clear video builds trust and keeps people watching longer.
What Makes Video Look Clear
Clarity in video comes from 4 things: resolution, lighting, lens quality, and bit-rate. Higher resolution like 1080P gives more detail. Good lighting reduces noise and makes colors pop. A better lens captures sharper images with less distortion. bit-rate decides how much data is saved per second. Higher bit-rate means less compression and more detail. Even if you shoot in 1080P but use low bit-rate, the video will still look soft. So to get clear video you need to balance all 4. You don’t need a cinema camera, just the right settings on your phone or SLR.
There are 3 main reasons 480P looks dull. First is low resolution. Fewer pixels cannot capture fine details. Second is poor lighting. Most 480P videos are shot in bad light which makes the image noisy. Third is heavy compression. To reduce file size, platforms compress 480P more, which removes detail. Also many budget phones use small sensors for 480P, so low light performance is weak. The result is a video that looks hazy, less colorful, and unprofessional. If your goal is to grow an audience, relying only on 480P will limit your reach.

Camera Settings for High Quality
To improve your camera settings, start with resolution. Set your camera or phone to 1080P 30fps for most content. If you need slow motion, use 1080P 60fps. Next, set focus to manual or tap to lock focus so it doesn’t hunt. Keep ISO as low as possible, ideally under 400, to avoid grain. Use shutter speed double of your frame rate. For 30fps, use 1/60. White balance should be set to match your light, like daylight or tungsten. Turn off digital zoom and beauty filters. These simple settings will instantly make your video look High Quality instead of 480P.
Many people think they need an expensive camera, but lighting is more important. A phone shooting in 1080P with good light will beat a SLR shooting in 480P with bad light. Use soft natural light from a window or a cheap LED panel. Avoid overhead tube lights because they create harsh shadows. For talking head videos, put the light in front of you at 45 degrees. This removes shadows from your face and makes skin look smooth. Good lighting also helps your camera use lower ISO, which means less noise. Even in 480P, good lighting can make the video look cleaner.
The Role of bit-rate and Compression
bit-rate is how much data your video uses every second. 480P often uses 2-4 m bps, while High Quality 1080P uses 8-12 m bps. More bit-rate means the video keeps more detail and less compression artifacts. When you upload to YouTube or Instagram, they compress again. If you start with low bit-rate, the final result looks worse. To avoid this, record at the highest bit-rate your device allows. When exporting, use H.264 code and set bit-rate to at least 10 m bps for 1080P. This keeps your video sharp after upload and viewers will notice the difference.
Video quality is not just about visuals. Bad audio can make even High Quality video feel cheap. 480P videos often have echo, background noise, and low volume because people use built-in mics. For High Quality results, use a lavaliere mic or a shotgun mic. Record in a quiet room and keep the mic close to your mouth. Set audio levels so peaks hit around -12dB. Clean audio makes your video feel professional even if the visuals are simple. Remember, people will tolerate slightly soft video, but they will leave if audio is hard to understand.
Editing Tips to Improve Clarity
Editing can also help bridge the gap between 480P and High Quality. First, don’t upscale 480P to 1080P. It will only make it more blurry. Instead, shoot in High Quality from the start. In editing software, add a small amount of sharpening, around 10-15%. Too much makes it look artificial. Adjust contrast and saturation slightly to make colors pop. Use color correction to fix white balance. Add captions because 85% of people watch without sound. Export in 1080P with 10 m bps bit-rate. These steps will make your final video look much closer to professional High Quality.
One reason people still use 480P is storage and internet. A 1 minute 480P video is about 20MB. The same in 1080P can be 100MB. If you have limited data or slow upload speed, this matters. But storage is cheap now. A 64GB memory card costs very little and can hold hours of 1080P footage. For uploading, you can compress later, but always keep the original High Quality file. This way you have a master copy for future use. If your audience is in areas with slow internet, you can upload both 480P and 1080P versions. Let them choose.


