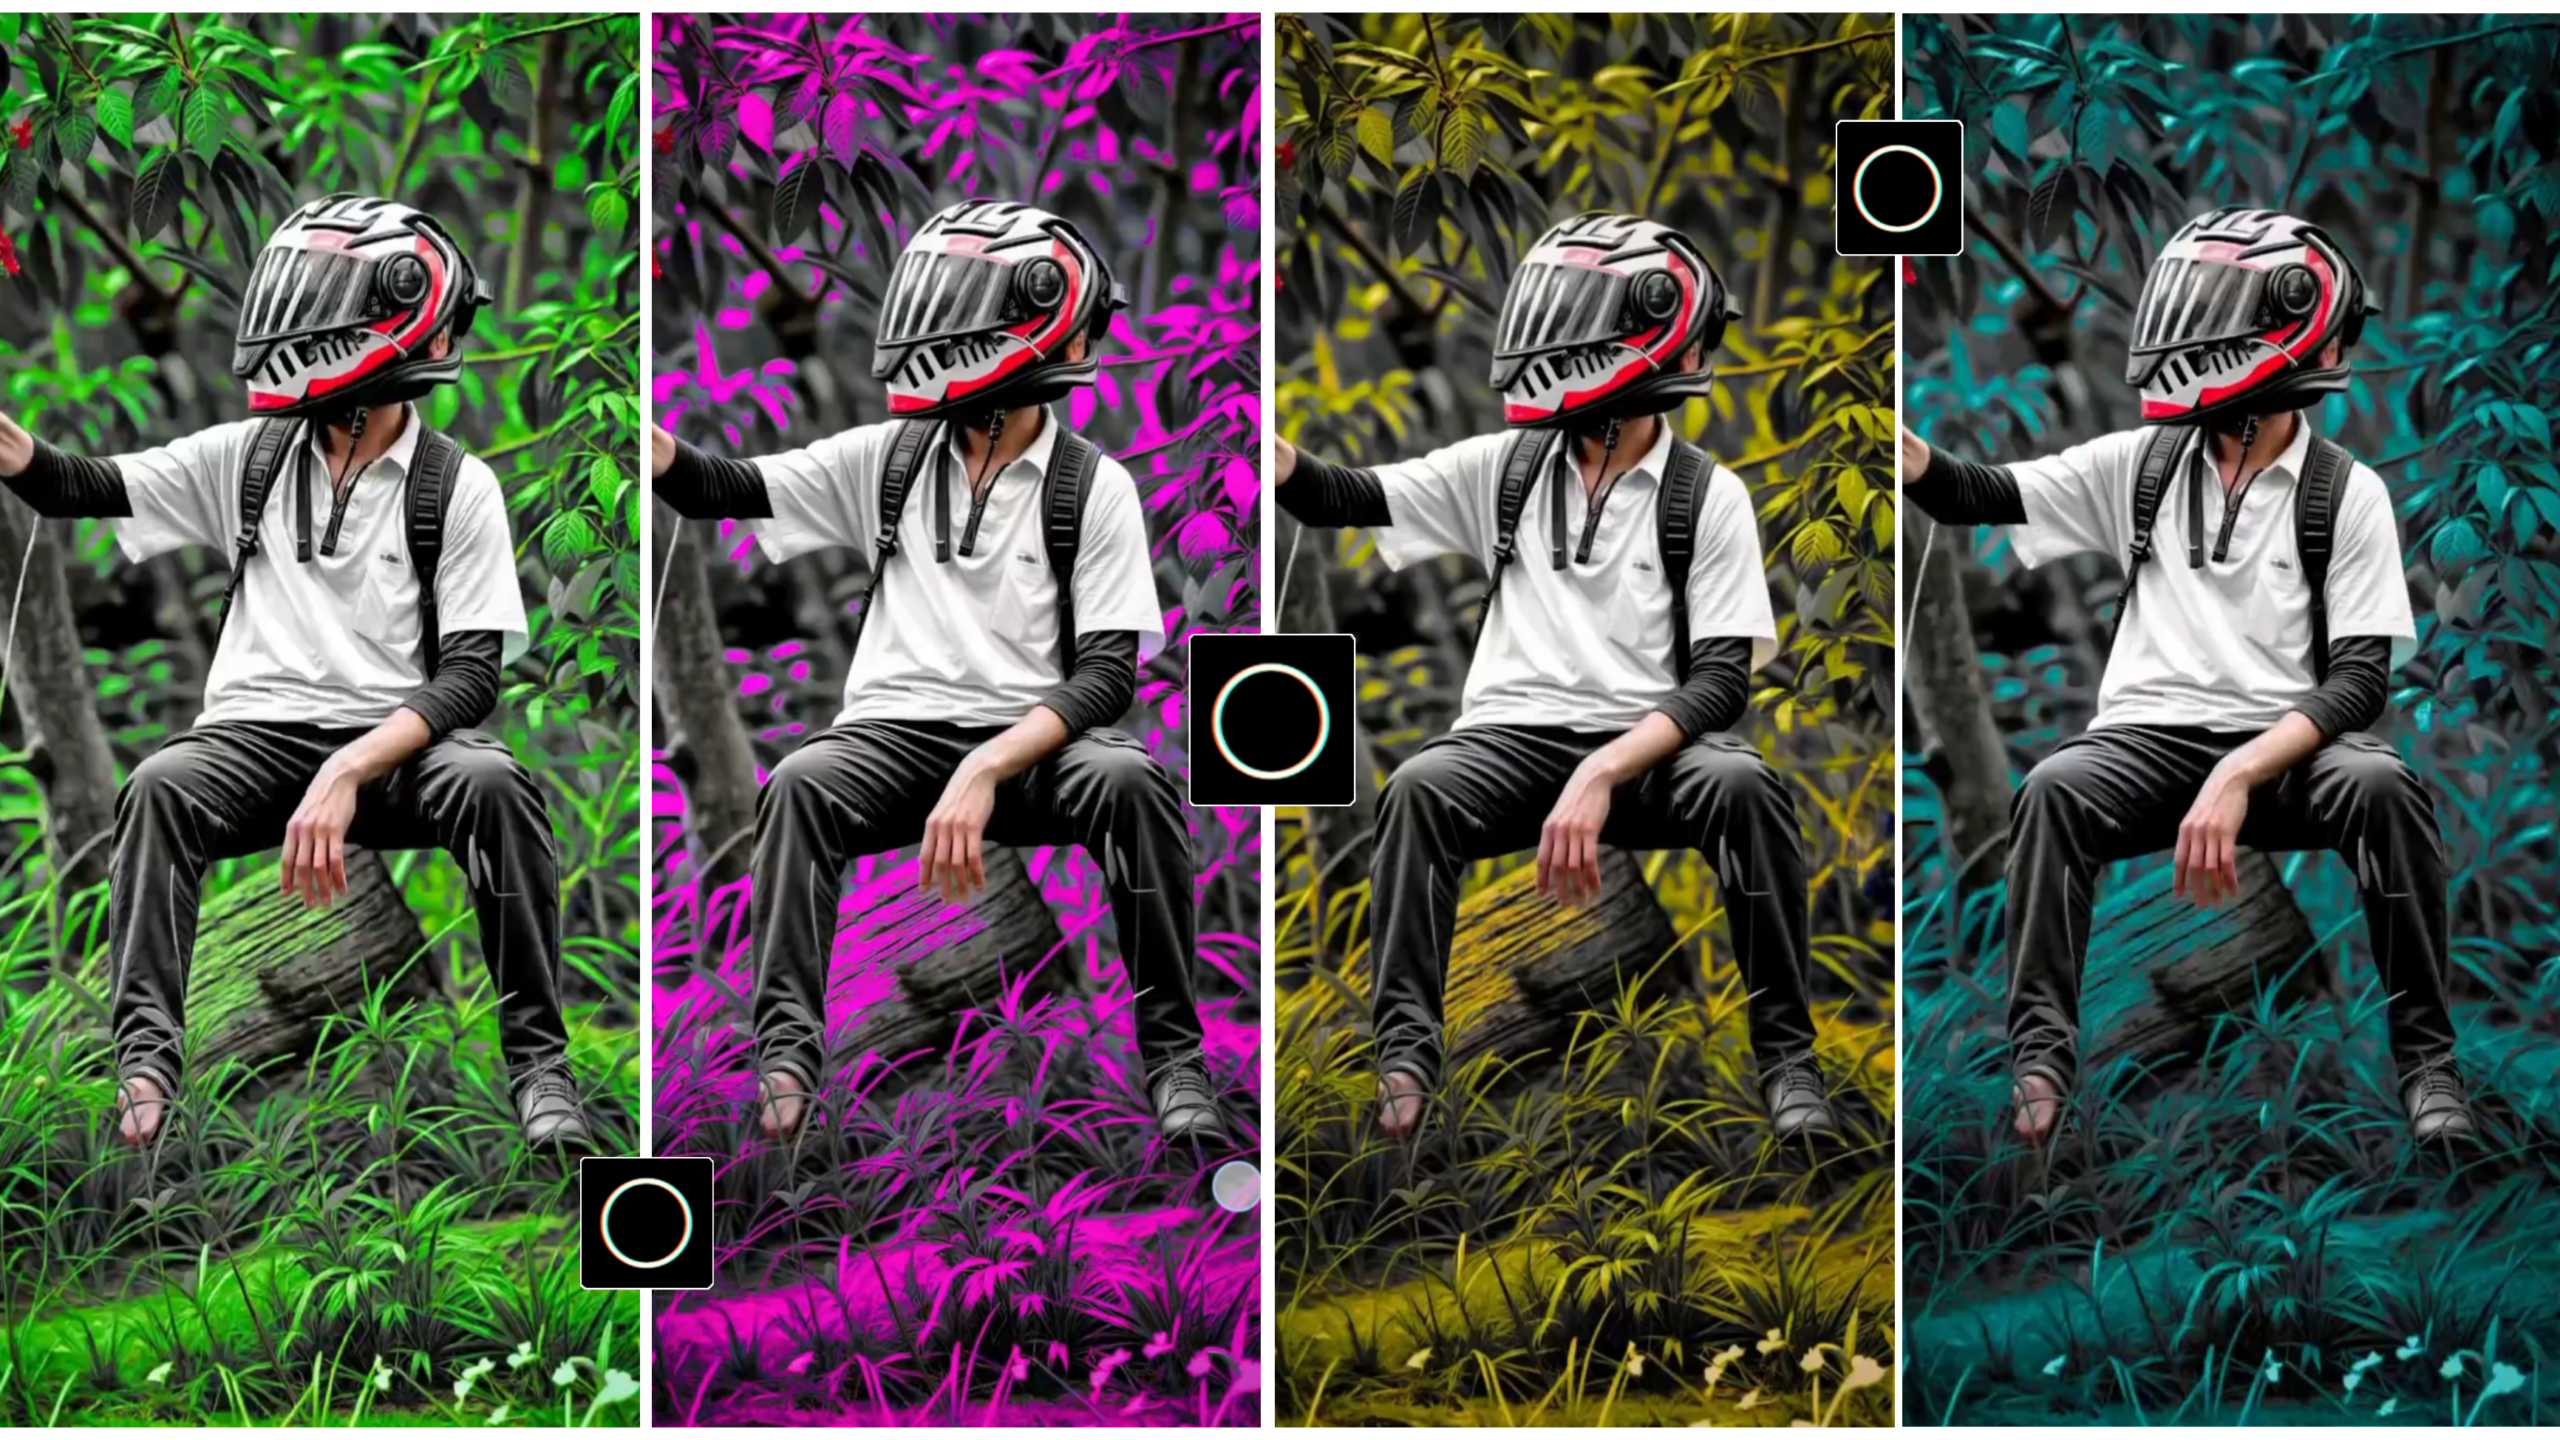
Master Polarr Filters photo editing with cinematic,Latests color correction & presets. Turn normal pics into viral Instagram photos using only your mobile.
Polarr Filters Color Grading & Presets
If you want your photos to stand out on Instagram, Pinterest, and YouTube Thumbnails, then the Polarr App is the tool you need in 2026. Polarr has just dropped a huge update with new AI tools, cinematic LUTs, and pro color grading features. The best part? You can do everything right from your phone. No PC or laptop required.
In this complete guide, I will walk you through how to use Polarr App step by step. You will learn how to apply filters, do professional color grading, and save presets to get a viral cinematic look in just 1 click. Whether you are a complete beginner or an advanced editor, this tutorial is for you.
Makes Polarr stand out 2026
First of all, Polarr App is a free mobile photo editor for both Android and iPhone. Many people call it “Photoshop for Mobile” and for good reason.AI Auto Color: Fixes your photo’s color balance with 1 tapCinematic LUTs: Get a Hollywood movie look in 3 seconds Batch.
Editing: Edit 100 photos at once with the same presetPro Layers: Full control with Curves, HSL, Split Toning on mobileNo Watermark: Free version exports clean photos. Moreover, Polarr’s filters look natural. You won’t get that over-edited fake look. This is why influencers and brands are now using Polarr alongside Inshot and Lightroom.
Download and Set Up Polarr
Step 1: Search “Polarr Photo Editor” on Google Play Store or App Store
Step 2: Install and open it. No signup is required
Step 3: Go to Settings and turn on High Quality Export and 16-bit Color. Pro Tip: Want free presets? Go to the “Explore” tab and search “Cinematic”. You will find 500+ free presets to download instantly.
Filters are what turn a normal photo into a viral post. Polarr gives you 3 ways to do it: Method 1: One-Click FiltersOpen the “Filter” tab. Check out categories like “Film”, “Cinematic”, and “Moody”. Try Teal & Orange, Kodak, and Fuji filters. To keep skin tones natural, keep the intensity between 60-70%.

The Secret to a Viral Look
Filters are what turn a normal photo into a viral post. Polarr gives you 3 ways to do it: Open the “Filter” tab. Check out categories like “Film”, “Cinematic”, and “Moody”. Try Teal & Orange, Kodak, and Fuji filters. To keep skin tones natural, keep the intensity between 60-70%.
Found a filter you love? Tap “Save as Preset” at the top. Next time you can apply the same look with 1 click. Because of this your editing time will drop by 80%. Download free .cube LUTs from YouTube. In Polarr, use “Import LUT” to add them. This is the same technique pro filmmakers use.
Polarr Filters Color Correction
Set Exposure, Contrast, Highlights, and Shadows. Remember this rule: Highlights -30, Shadows +20. As a result your photo will have more depth. This is the most important step. Go to “HSL” and select Orange. For skin tones, set Saturation to -10 and Luminance to +15. Because of this the skin will look natural and glowing.
Add a light yellow #FFD700 to Highlights and a light blue #003366 to Shadows. This creates the signature cinematic movie look. Give the RGB Curve a slight “S” shape. It increases contrast without damaging the photo.First, use the “Masking Tool”. You can edit just the sky or just the face separately.
Tips No One Tells You
Second, add “Texture Overlay”. Adding film grain makes your photo look premium.Third, use “Selective Adjust” to brighten the eyes. This is the #1 trick for viral portraits.Moreover, use “Before/After” swipe to show clients the difference.Finally, when exporting, choose “Quality 100” and “Long Edge 4000px”. Your quality won’t get compressed on Instagram.
To sum up, cinematic photo editing is no longer difficult in 2026. Polarr App has made pro tools so easy that anyone can learn in 10 minutes.Because Polarr is free, powerful, and mobile-friendly, it has become every creator’s first choice.So, download the Polarr App now, follow the steps in this guide, and post your first viral photo. Finally, practice for 15 minutes every day. In just 1 week, your editing will look different from everyone else’s.

Common Mistakes to Avoid Polarr Filters
First of all, Polarr is not just another filter app. It’s called the “Photoshop for Mobile” for a reason.Key features in 2026:AI Auto Color: Fixes lighting and color in 1 tap500+ Cinematic Filters & LUTs: Hollywood looks in secondsBatch Edit: Apply 1 preset to 100 photos instantlyPro Tools: Curves, Split Toning, Masking, HSL all on mobileNo Watermark on Free Export
This is where your photos go from good to viral. Set Highlights to -30 and Shadows to +20. This adds depth immediately. Go to HSL > Select Orange. Set Saturation -10 and Luminance +15. As a result skin looks glowing and natural. Add warm yellow to Highlights and cool blue to Shadows. This is the main “cinematic” secret. Make a slight “S” curve. It boosts contrast without ruining details.
Travel & Wedding Photographers
To sum up, cinematic editing is easy in 2026 because of Polarr App. It’s free, fast, and gives you pro results on mobile.So, download Polarr App today, follow these 4 color grading steps, and post your first viral photo. Because practice makes perfect, spend just 15 minutes daily and in 1 week your editing will be 10x better.
Polarr Filters vs Other Apps 2026
First of all, people always ask me: “Should I use Polarr, Lightroom, or Snapseed?” Here is the honest comparison for 2026. Lightroom is powerful but it’s slow on mobile and most good presets are paid. The learning curve is also very hard for beginners. Snapseed is 100% free and easy, but it doesn’t have LUTs, batch editing, or pro color grading. It’s good for quick fixes only.
Polarr App wins because it gives you the best of both. You get pro features like LUTs, Curves, HSL, and Batch Edit, but it’s still easy to use. Moreover, Polarr has 500+ free cinematic presets and AI Auto Color that Lightroom doesn’t have. Because of this, creators who post daily on Instagram and Reels prefer Polarr. It’s fast, free, and gives a cinematic look in 1 minute. To sum up, if you want speed + pro results on mobile, Polarr is the best choice in 2026.
Who Should Use Polarr Filters
First of all, this guide is perfect for Instagram Reels Creators, TikTokers, and YouTubers who want aesthetic thumbnails. In addition, Travel Bloggers and Wedding Photographers can use Polarr to batch edit 500 photos in 10 minutes with 1 preset. Moreover, Small Business Owners and Product Sellers can make their product photos look premium without hiring a designer. Students can also use it for free to make portfolios and college projects.
Most importantly, you don’t need a PC, laptop, or any editing experience. Therefore, anyone with an Android or iPhone can start creating cinematic photos today. If your goal is to get more likes, saves, and followers in 2026, then learning Polarr is a must. Brands are now checking your photo quality before collaborations. Finally, with Polarr you can look like a pro editor even if you just started yesterday.
First of all, just applying filters is not enough to go viral. In addition to good editing, you need a strategy. For example, post during peak hours like 6pm to 9pm for maximum reach.


