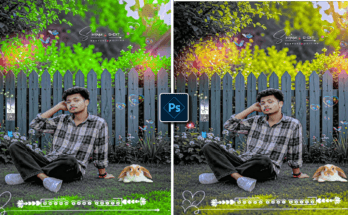
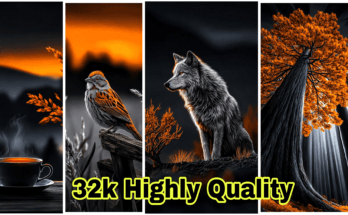
I will show you amazing Color Grading Tone Presets for background editing. You can easily change your photo background color using these a-i Filters.
Color Grading Tone Presets
Color Grading tone presets are per-made editing filters that instantly change the colors, mood, and lighting of your photos. Instead of adjusting sliders manually in light-room or photo-shop, you just apply a preset and get a professional result in one click. In 2026, these presets are used by influences, photographers, and brands to keep a consistent aesthetic across Instagram, YouTube thumbnails, and websites. Background tone presets are especially popular for portraits and fashion shoots because they help the subject stand out. With a-i powered filters, even beginners can achieve results that used to take professional editors hours to create.
The background in a photo is not just filler. It sets the mood, creates contrast, and guides the viewer’s eye to the subject. For example, a red scree pops beautifully against a green forest or dark blurred background. That’s why background Color Grading has become a huge trend. In the past, changing a background color meant hours of masking in photo-shop. Now, with a-i filters and tone presets, you can change the entire Color Grading background tone in seconds. Brands use this to match product photos to their brand colors. Creators use it to make thumbnails more eye-catching and clickable.
Filters Work in 2026
filters in 2026 use machine learning to separate the subject from the background automatically. The AI scans your photo, detects edges, skin tones, and objects, then applies the color grade only to the background. This means your subject stays natural while the Color Grading background gets a cinematic tone. Apps like light-room Mobile, snap-seed, and PicsArt now have built-in a-i tools for this. The biggest advantage is realism. The AI also adjusts shadows, highlights, and reflections to match the new background tone. This saves time and gives a polished result without needing advanced editing skills.
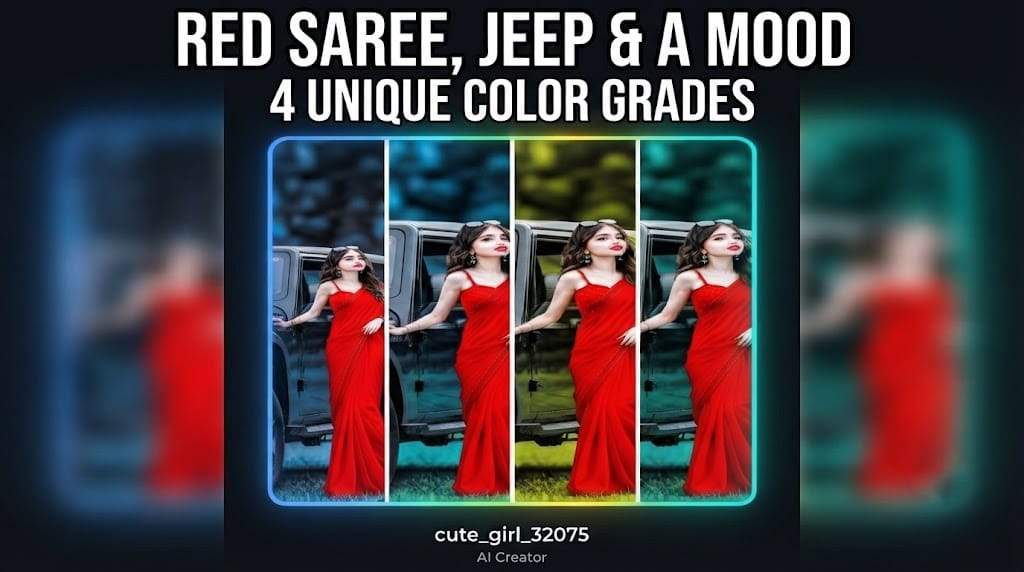
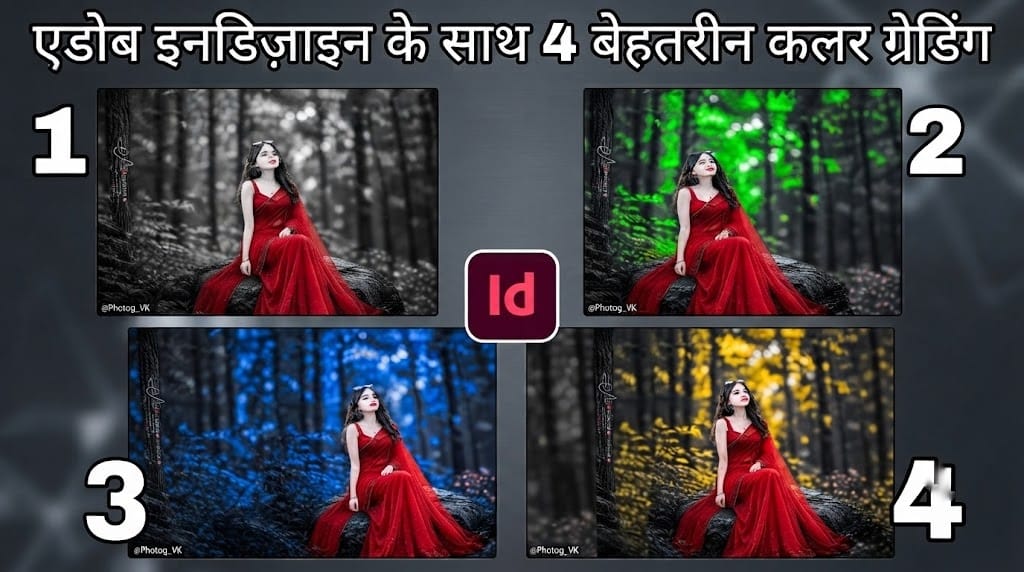
Let’s break down the 4 amazing presets featured in this guide.1 is Black & White Background Tone. It creates a dramatic, timeless look perfect for fashion. 2 is Green Forest Tone, ideal for outdoor and nature portraits. Preset 3 is Cool Blue Tone, which gives a calm, professional, and modern vibe. Preset 4 is Warm Golden Tone, best for weddings, festivals, and cozy portraits. Each preset tells a different story. You can switch between them to see which one fits your photo best. All presets work on mobile and desktop, so you can edit anywhere.
Apply Presets in light-room Mobile
First, open light-room Mobile and import your photo. Next, go to the “Presets” panel and tap “Import Presets”, then select the preset file from your phone. Once imported, simply tap on any preset to apply it to your photo and adjust the intensity slider between 50% and 100% to control the effect. In addition, use the masking tool to protect skin tones if needed, and finally export your photo in high quality. As a result, you can now apply the same preset to 100 photos with one tap using the “Copy Settings” feature, which makes this workflow perfect for creators who post daily.
These presets are perfect for fashion photography, wedding shoots, e-commerce product images, and Instagram portraits. If you are a content creator, using one consistent tone helps build your brand identity. Online sellers can use background tones to match product photos to their store theme. YouTubers can make thumbnails more vibrant and clickable. Students and hobbyists can turn normal phone photos into pro-level edits. The key is to shoot in good lighting first. Natural daylight gives the a-i the most data to work with, so the final result looks clean and realistic.
Color Grading Presets Look Natural
To make a-i filters look natural, follow these 5 tips. 1. Don’t use 100% intensity. 70-80% usually looks best. 2. Keep contrast between subject and background. 3. Use masking to protect faces and skin tones. 4. Choose a Color Grading background tone that complements the colors already in your photo. 5. Always export in high resolution and check edges for Color Grading bleeding. a-i is powerful, but it’s not magic. The better your original photo, the better the preset will look. Small adjustments make a big difference in the final output.
presets are great for learning and casual editing. You can find thousands online, including the 4 we are sharing here. Premium preset packs, however, offer more variety, betterColor Grading accuracy, and often include video tutorials. If you are a professional photographer or full-time creator, investing in a paid pack can save time and improve consistency. But if you are just starting, start with free presets. Test different tones, see what your audience likes, and then upgrade. Both free and paid options use the same a-i technology, so the core quality is similar.
The Future of a-i in Photo Editing
By 2026, a-i editing has become faster and smarter. Soon, a-i will suggest the best preset for your photo automatically based on mood and subject. We will also see real-time background replacement in video using the same tech. For now, tone presets are the easiest way to stay ahead. They let you post more, edit faster, and keep your content looking fresh. The tools are in your pocket. The only thing left is creativity. Experiment, test, and find a style that is uniquely yours.
You can download the 4 Color Grading Tone Presets for free from the link below. The files are in format, which works with light-room Mobile on both Android and iPhone. After downloading, open light-room > Presets > Tap the 3 dots > Import Presets > Select all 4 files. That’s it. They will now appear in your preset library. We recommend saving them in a folder called “Background a-i Filters” so you can find them easily. Use them for personal and commercial projects. Please do not resell the preset files.
Before and After Color Grading
The power of background tone presets is clear in before and after examples. A normal photo with a messy background becomes cinematic with one click. The subject looks sharper, the colors look richer, and the overall image feels more professional. Try this with your own photos. Take a portrait in your room, apply the Blue Tone preset, and see how it transforms into a studio-style shot. The same photo with Golden Color Grading Tone looks like a sunset shoot. This is why creators love presets. They unlock creative possibilities without needing expensive gear.
In today’s world, color grading and background AI filters are no longer just for professionals. In fact, with these 4 tone presets, you can easily transform any photo in seconds. However, the key is to stay consistent and choose tones that match your brand or personality. Therefore, download the presets, try all 4 styles, and tell us which one is your favorite in the comments. Moreover, don’t forget to subscribe for more free presets and editing tutorials every week. As a result, your next viral photo is just one preset away. So, start editing now