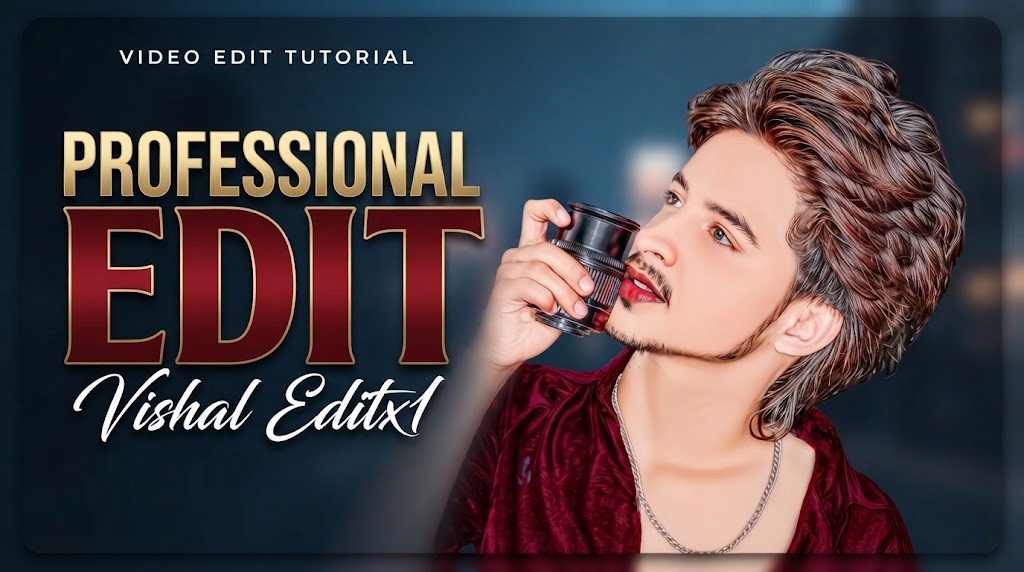
Make photos look pro with mobile app editing. Full mobile app Color, blur & Professional effects editing tutorial for beginners.
Start With A Good Base
Professional editing starts before you open the app. Choose a photo with good light and clear face. Avoid dark or blurry images. Natural light photos work best for professional style. If you are taking selfie, use rear camera and stand near window. Make sure background is not too messy. A simple background makes blur effect look better later. Save the photo in high quality. Low quality photos will look bad after editing. Once you have the right photo, open Light-room Mobile and import it. Don’t apply any filter yet. We will edit from scratch for full control.
In 2026 everyone wants professional looking photos without a SLR or laptop. Mobile phones are now powerful enough to handle color grading, blur, and advanced effects. Apps available on Android and iOS give you tools that were once only in Photo-shop. This guide will teach you professional style editing with mobile app only for photos. You don’t need any paid software or PC. Whether you are a beginner or content creator, you can make your photos look pro in just 10 minutes. We will cover step by step process using free mobile apps. By the end, your photos will look clean, sharp, and viral-ready for Instagram and YouTube thumbnails.

Professional Style Editing Understand Look
Professional style editing means making a normal photo look studio-quality. The main elements are clean skin, balanced colors, background blur, and sharp details. It is not about heavy filters. It is about subtle adjustments that make the subject pop. In professional editing we focus on 4 things: exposure, color, depth, and effects. Mobile apps today have AI tools that do this in one tap. But to get a real pro look, you need manual control. This tutorial will show you how to edit only photos using mobile apps. We will avoid video editing and focus only on images for best results.
There are many apps but not all are good for professional work. For beginners the best free apps are Snap-seed, Light-room Mobile, and PicsArt. Snap-seed is great for selective editing and blur. Light-room Mobile gives you full control over color and lighting. PicsArt is best for effects and overlays. All 3 apps are free and work on any phone. You don’t need to download cracked versions. Just go to Play Store and install them. In this tutorial we will use Light-room Mobile as main app because it gives the most professional results. But I will also show Snap-seed tricks for blur and face smooth.

Basic Adjustments – Light And Exposure
The first step in any professional edit is fixing light. Go to Light section in Light-room. Increase exposure slightly if photo is dark. Decrease highlights to recover sky details. Increase shadows to show face details. Set contrast to +10 to +20. Don’t overdo it or photo will look fake. Next, adjust white balance. If photo looks yellow, make temperature cooler. If it looks blue, make it warmer. The goal is natural skin tone. These small changes make a huge difference. After this step your photo will already look 50% better. Always zoom in and check details while adjusting.
Color is what makes photos look professional. Go to Color Mix section. Start with skin tones. In Orange channel, adjust luminescence to make skin smooth and bright. In Red channel, adjust saturation to remove redness. Next, go to Color Grading. Add slight warm tone to highlights and cool tone to shadows. This gives cinematic look. Don’t use presets directly. Learn to do it manually once. For professional style, keep colors muted, not over saturated. Use HS sliders to make background colors less distracting. This step separates amateur edits from pro edits. Take your time here.
Background Blur And Depth Effect
Professional SLR photos mostly look pro because of background blur. However, the good news is that you can also do this on mobile easily. First of all, open the Snap-seed app on your phone. After that, go to Tools > Lens Blur option. Next, place the circle directly on your subject. Then, adjust the blur strength between 40-60 for the best result. In addition, keep the transition smooth so that it looks natural. At the same time, make sure you don’t blur the hair or edges. Moreover, if you mess up by mistake, you can simply use the eraser tool to fix it. This effect is called Booker and as a result it makes the subject stand out clearly. Similarly, in Light-room you can also use the Radial Filter to darken the background.
Nobody wants plastic skin. For face smooth, use Snap-seed > Tools > Healing and Brush. Or use Light-room > Detail > Texture and Clarity. Decrease clarity slightly on face area using brush tool. Then increase sharpness on eyes, hair and clothes. This keeps face smooth but details sharp. Don’t use beauty filters from TikTok apps. They look fake. Professional editing is about subtlety. Zoom to 100% and check. Eyes should be sharp. Skin should be clean but still have pores. This balance is key. It takes practice but once you learn it, every photo will look premium.
Adding Professional Effects
Now add final touches. In Light-room go to Effects. Add slight vignette -10 to focus on center. Add grain +5 for film look. Use Haze +5 if photo looks dull. For creative effect, add light leaks or lens flare from PicsArt. But use at 20% opacity only. Too much effect looks childish. Professional editors use minimal effects. You can also add text overlay if this is for thumbnail. Use clean fonts like Montserrat or Babes Neut. Keep text big and readable. Export the final photo in highest quality JOG. This is your professional style photo ready for social media.
Most beginners usually ruin their photos by doing too much. First of all, Mistake 1 is over-saturating colors because it makes the photo look cheap. Secondly, Mistake 2 is using too much blur which makes the image look fake. In addition, Mistake 3 is using 10 filters together. Instead, you should keep it simple. Furthermore, Mistake 4 is ignoring lighting. However, no app can fix bad light. Finally, Mistake 5 is saving in low quality. Therefore, always export at 100% quality. Another big mistake is comparing yourself to others in the first week. But remember, professional editing takes time. For this reason, practice with 5 photos daily. As a result, in 30 days you will see a huge improvement. In short, tools don’t make a photo pro. Your eye for detail does.
Export Settings For Best Quality
After editing, export is important. In Light-room go to Export > JOG > Quality 100%. Size: 2048px on long edge for Instagram. 1280×720 for YouTube thumbnail. Don’t use PING unless you need transparent background. Turn off watermark. Name your file properly like “professional-edit-photo-2026.jog”. This helps SEN if you upload to blog. Always keep original photo safe. Save edited version separately. You can also save your settings as preset for next time. This saves hours. Good export = good reach. Blurry exports kill all your hard work.
Many people often ask if mobile can beat PC. However, in 2026, the answer is yes for 90% of the work. For example, apps like Light-room Mobile now have 95% features of the PC version. In addition, mobile is much faster when it comes to quick edits. On the other hand, PC is still better for bulk editing and heavy manipulation. But for professional style photos, mobile is absolutely perfect. Moreover, you can edit anywhere and anytime. As a result, you don’t need to sit in front of a laptop. Furthermore, mobile AI tools are becoming smarter day by day. Therefore, don’t wait to buy a PC. Instead, start with your phone today. First, learn the skills and then think about equipment. In conclusion, thousands of creators are already earning money only with phone editing.


